The basics
The cel-shaded outline effect can be created by taking a copy of the source shape, assigning a flat colour to the copy, increasing the size ever-so-slightly, and flipping the face normals. I'll explain.
The process
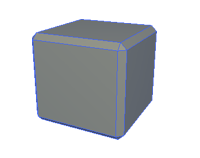
Take a simple source asset.

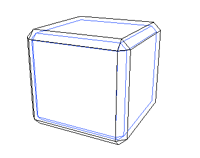
Take a copy of the shape (3DSMax refers to this as 'cloning'). We'll refer to this new shape as the 'outline object'. Now increase the size of the outline object slightly. The larger the outline object, the thicker the outline will appear around your original asset. [3DSMax has a cool modifier called 'PUSH' which is perfect for this job. 'PUSH' doesn't simply scale the geometry, it actually pushes the individual faces along the direction of their face normals and therefore retains the overall shape.

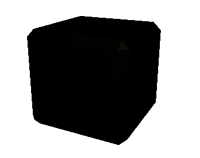
Apply a black material or texture to the outline object. For our example we'd like a black outline, but any colour can be used depending on your requirements.

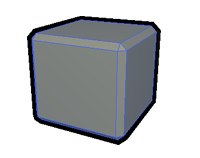
Now this looks pretty useless, until we flip the normals on the outline object so that the outline object appears inside out. Job done.

This principle only works because your outline object does not have a 2-sided shader on it. You need to be able to see 'through' the nearest faces of the outline object.

I do like the 'thinking outside the square' if you'll pardon the pun.
ReplyDeleteCheers Bazza
this is a really simple way to get some cel shaded lines in max, I wonder if it gets harder trying to apply this to a character.
ReplyDeleteThanks for the guide.